
ワードプレスでテーマの更新をする必要があり、そのためには子テーマを設定する必要があり、さらにそのためにはFFFTPを使う必要があるのですが、私は一から分からなかったため、いくつかのブログを参考にさせていただき、一連の流れで実行した結果を記事にします。
[目次]
1.FFFTPの設定と操作
この章で参考にさせていただいたのは以下2つです。(実行した内容は参考元の手順とほぼそのままです)
参考元1:https://marushibe.mixh.jp/2017/10/17/ffftpでphpファイルを子テーマで表示させる方法/
参考元2:https://kijonojiron.com/ffftp_how_to_use
FFFTPを窓の社でダウンロードします。(今回は64bit版をダウンロードします。)
ダウンロードしたファイルを開きます。

[次へ]をクリックします。
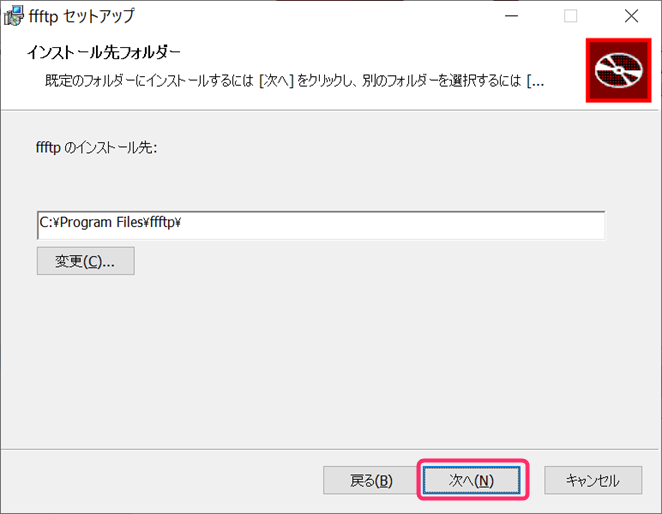
インストール先に問題がなければデフォルトのまま、[次へ]をクリックします。
インストールをクリックします。
以下の画面が表示され、終わるまで放置します。

[完了]をクリックします。
デスクトップアイコンからFFFTPを起動します。
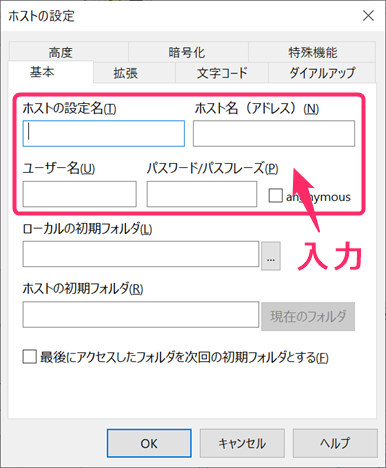
[ホストの設定名]、[ホスト名(アドレス)]、[ユーザー名]、[パスワード/パスフレーズ]の4つを入力していきます。Xserverを使用している場合で説明します。
[ホストの設定名]
自分が分かりやすいと思う名称を入力します。(私はXserverと入力しました)
[ホスト名(アドレス)]
ホスト名またはIPアドレスを入力していきます。
Xserverの使用者はサーバーパネルのサーバー情報から確認することができます。

[ユーザー名]
サーバーIDを入力します。
[パスワード/パスフレーズ]
サーバーパスワードを入力します。
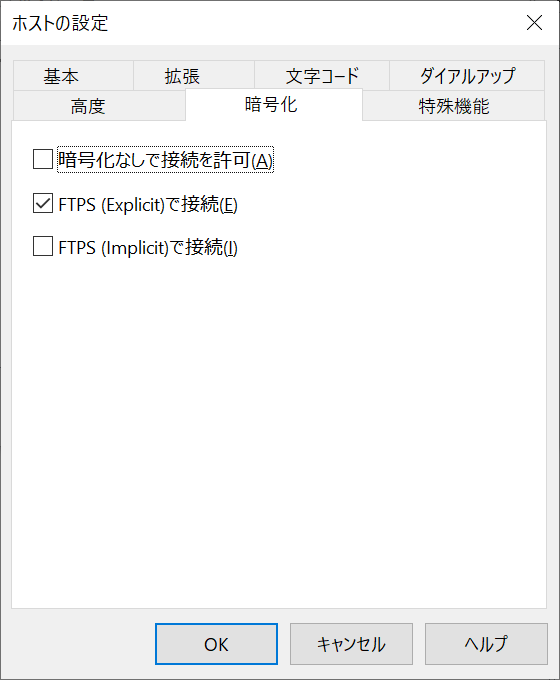
暗号化の設定をします。チェックを選択して、[OK]をクリックします。(今回、私は以下の設定をしました。)
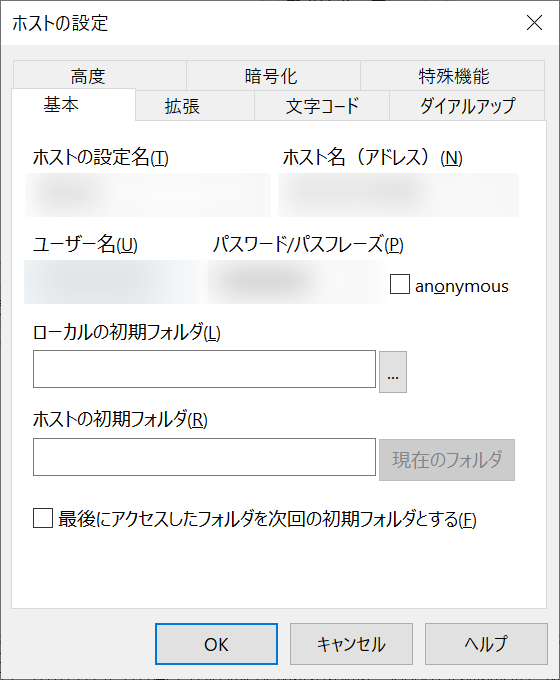
基本情報が入力できたら、[OK]をクリックする。
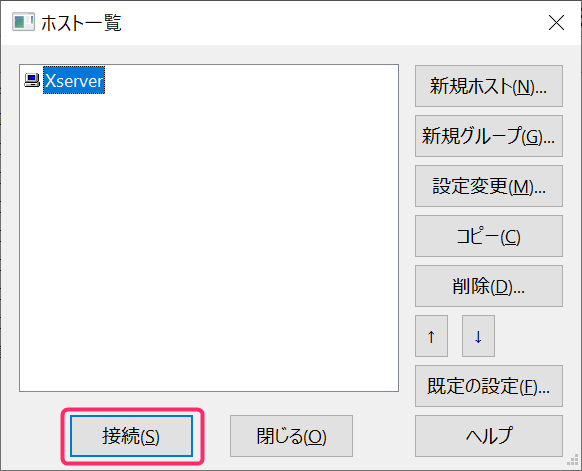
接続ボタンを押下します。
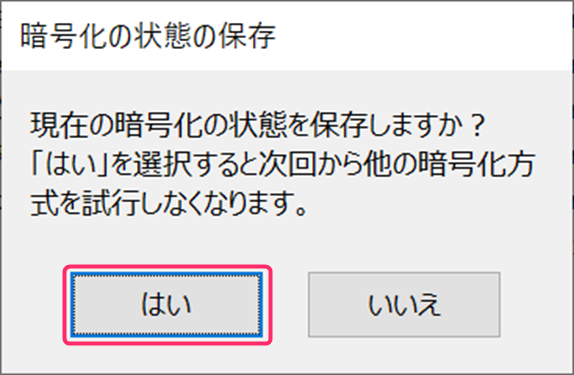
[はい]をクリックします。
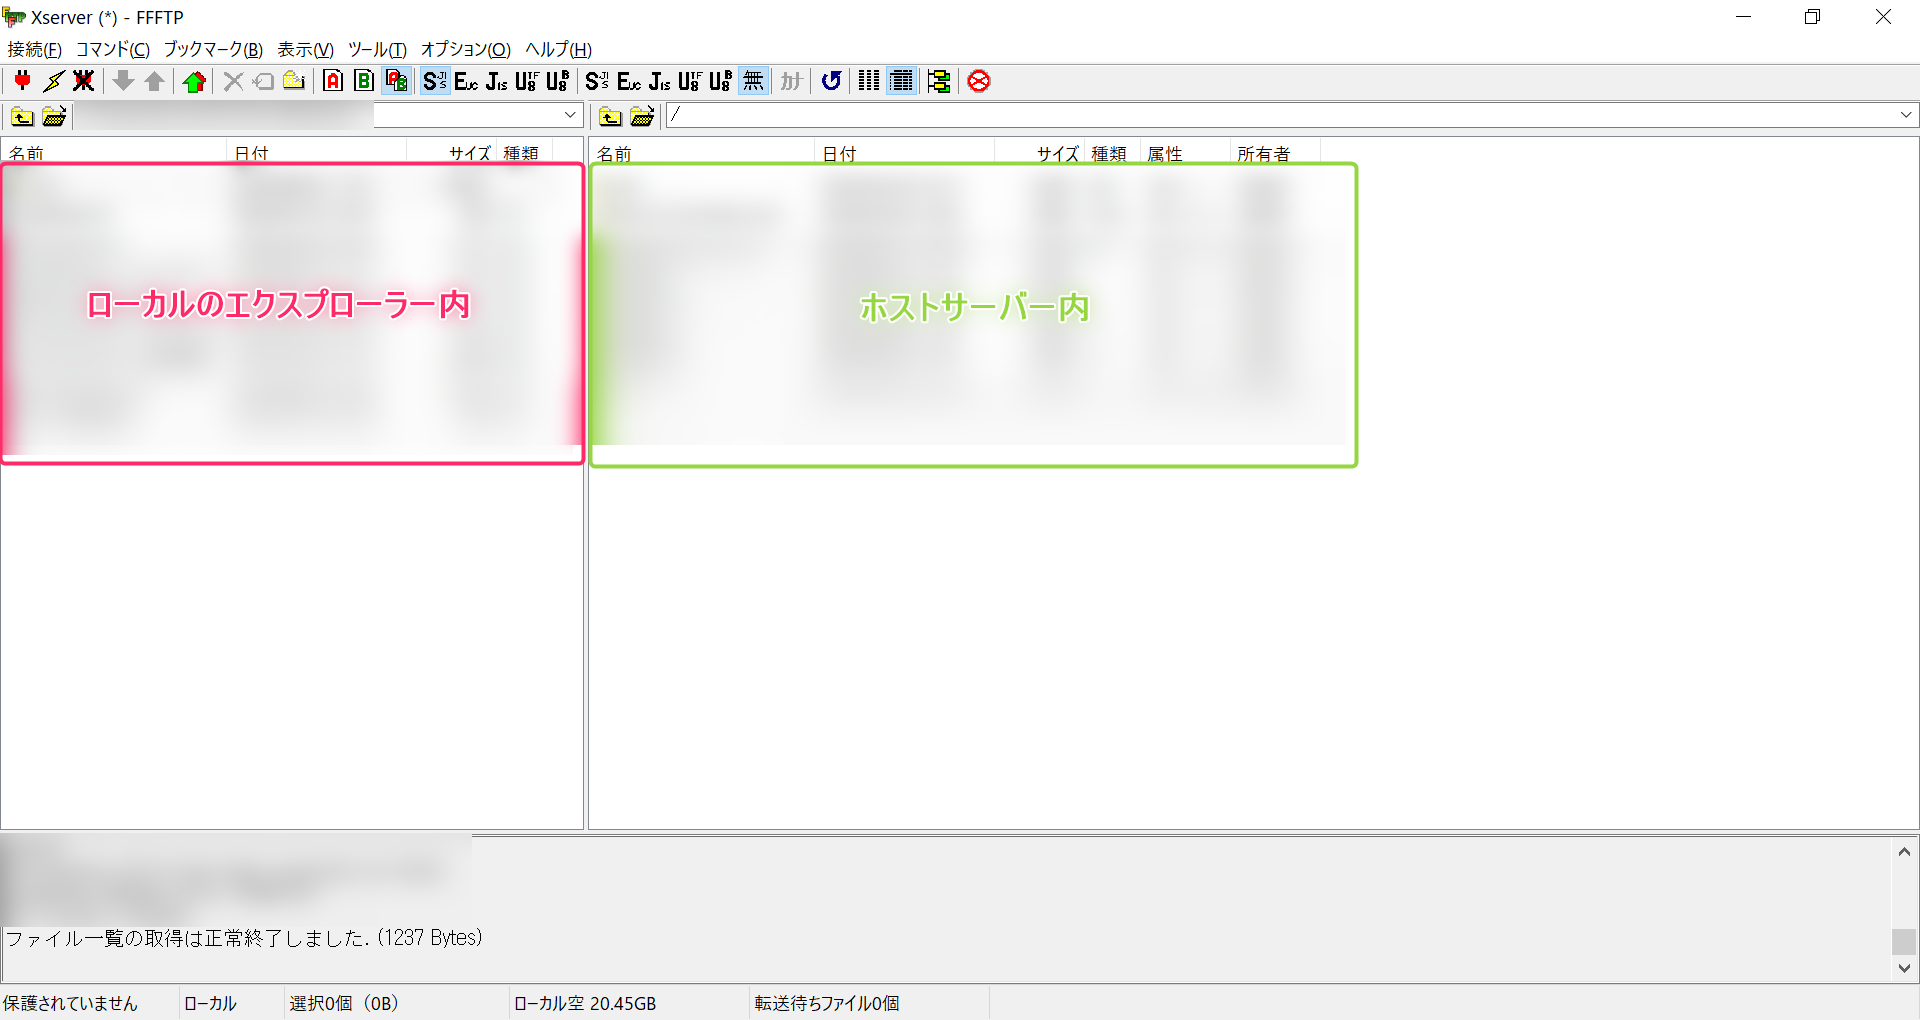
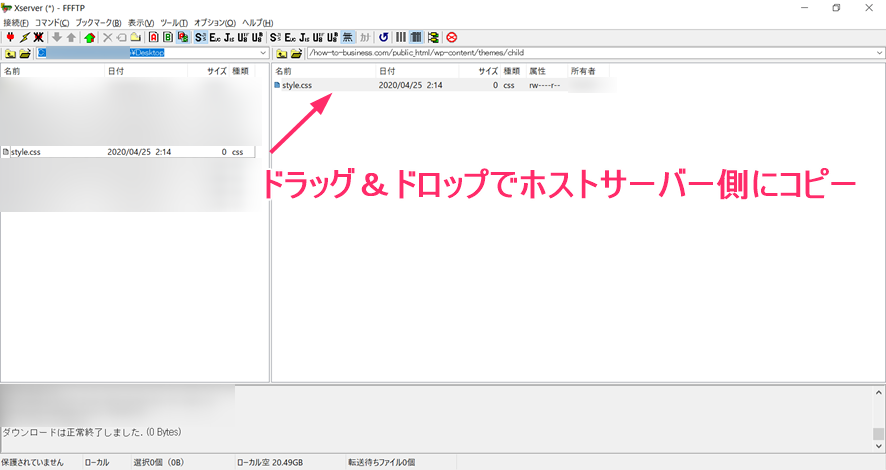
ホストサーバーに接続できました。左がローカルのエクスプローラー内の表示、右がホストサーバー内の表示となっています。
2.子テーマの設定
この章で参考にさせていただいたのは以下です。(実行した内容は参考元の手順とほぼそのままです)
参考元:http://www.webdesign.uh-oh.jp/install/theme.html
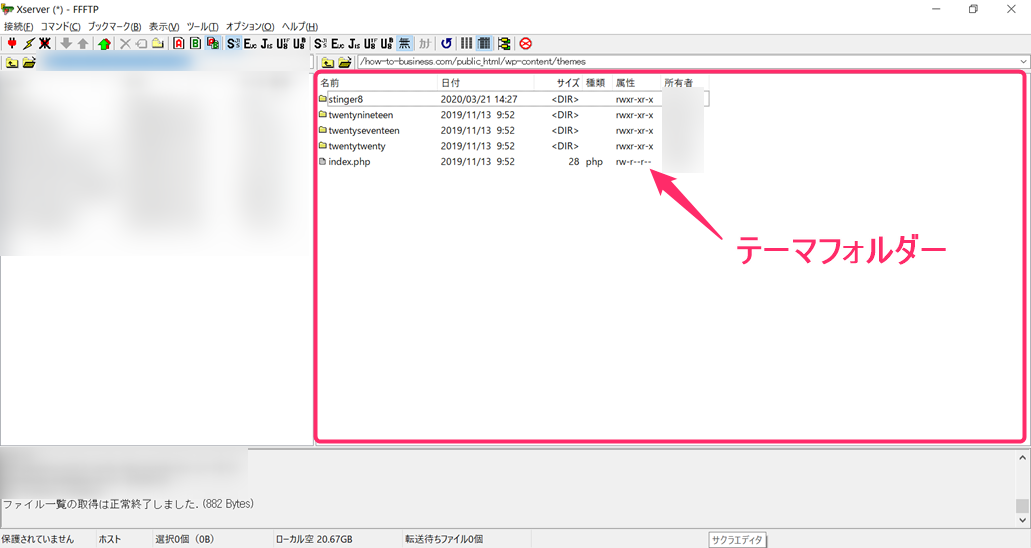
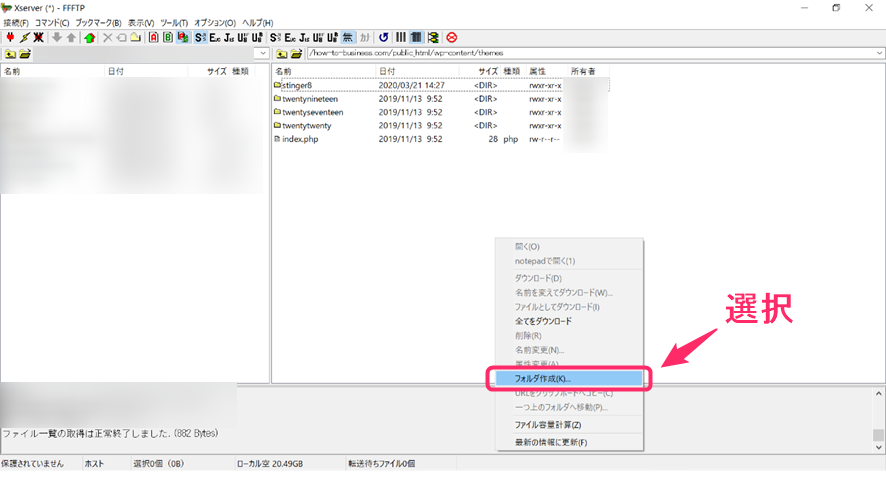
ホストサーバーのテーマたちが格納されているフォルダ階層を見ます。
[child]フォルダを作るために右クリックし、[フォルダ作成]を選択します。
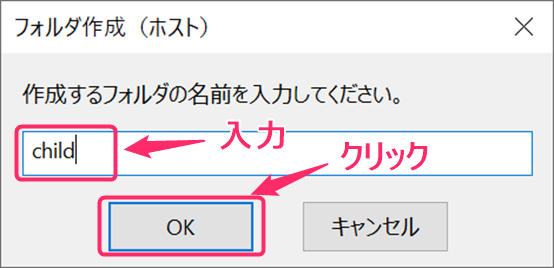
[child]と入力し、[OK]ボタンをクリックします。
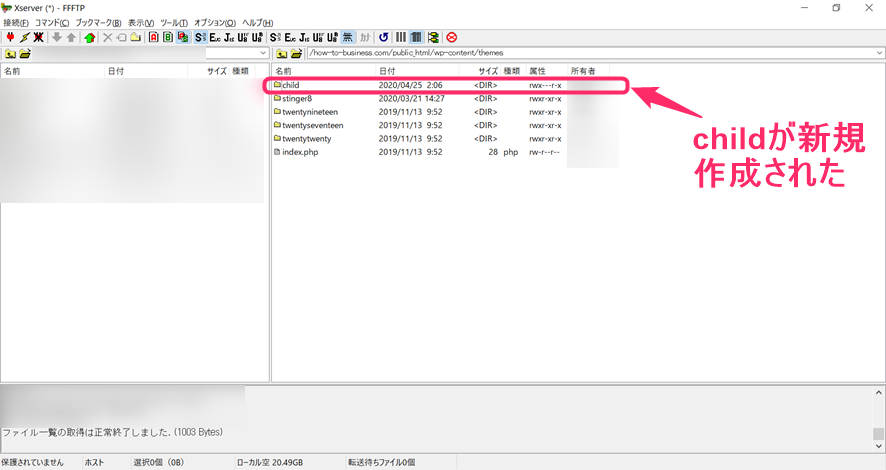
[child]フォルダが新規作成されました。
ローカルのデスクトップに空の「style.css」を作成します。
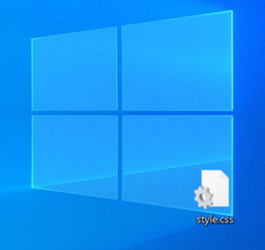
ローカルの[style.css]をドラッグ&ドロップで[child]フォルダ内に持ってきます。
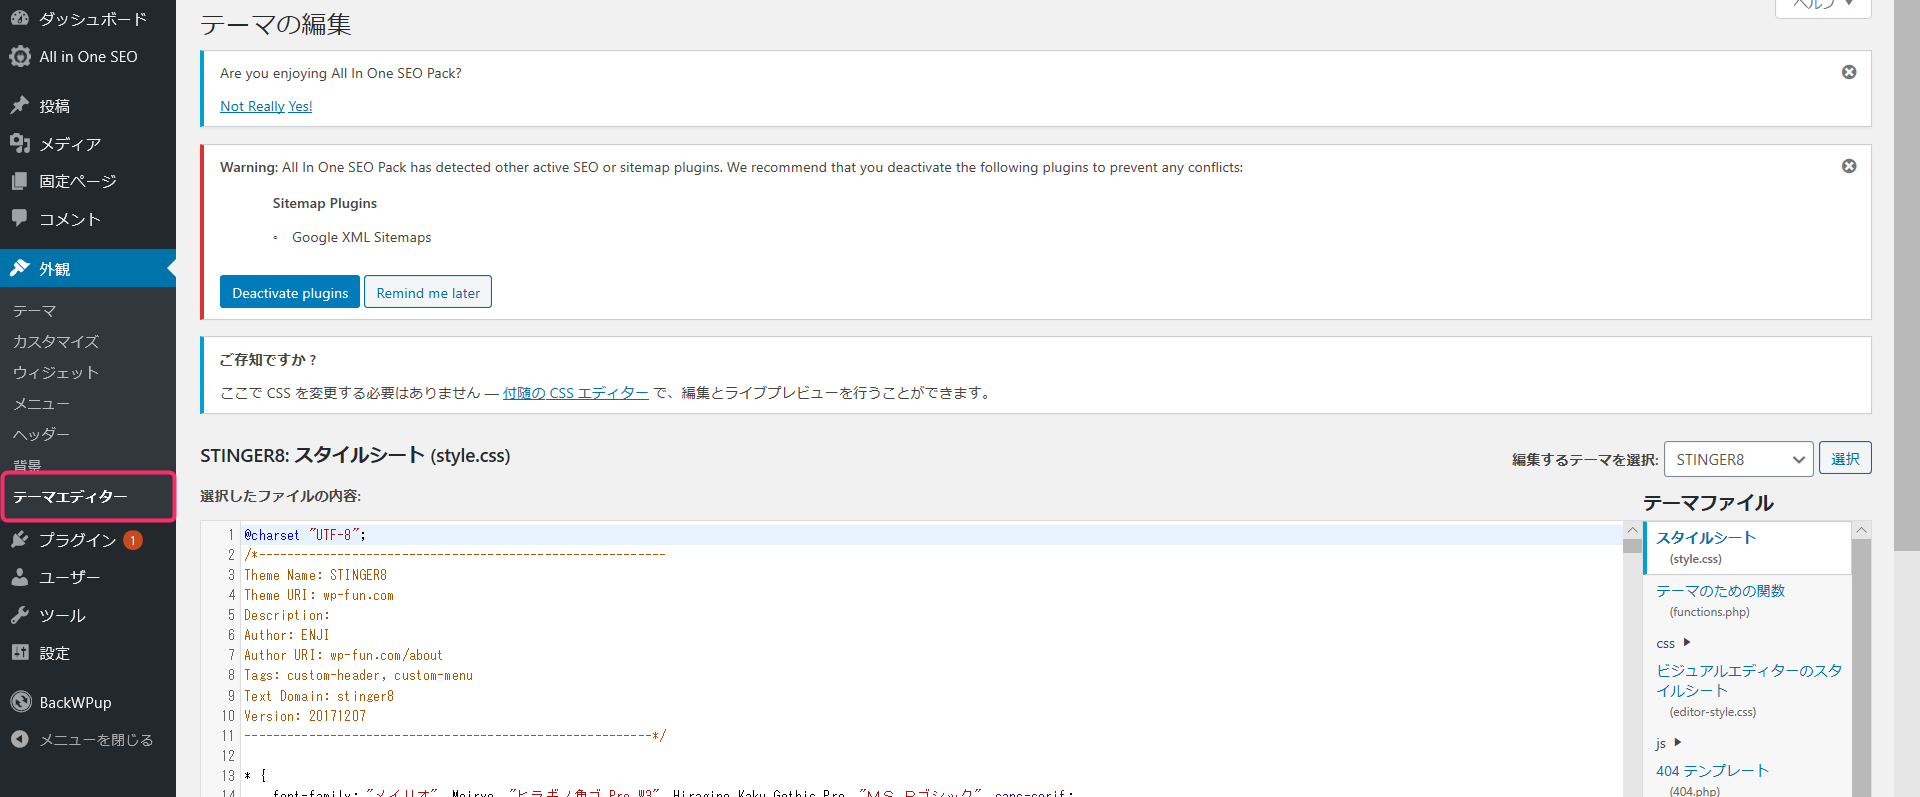
WordPressの[外観]→[テーマエディター]を選択。
[編集するテーマを選択]→[child]を選択します。
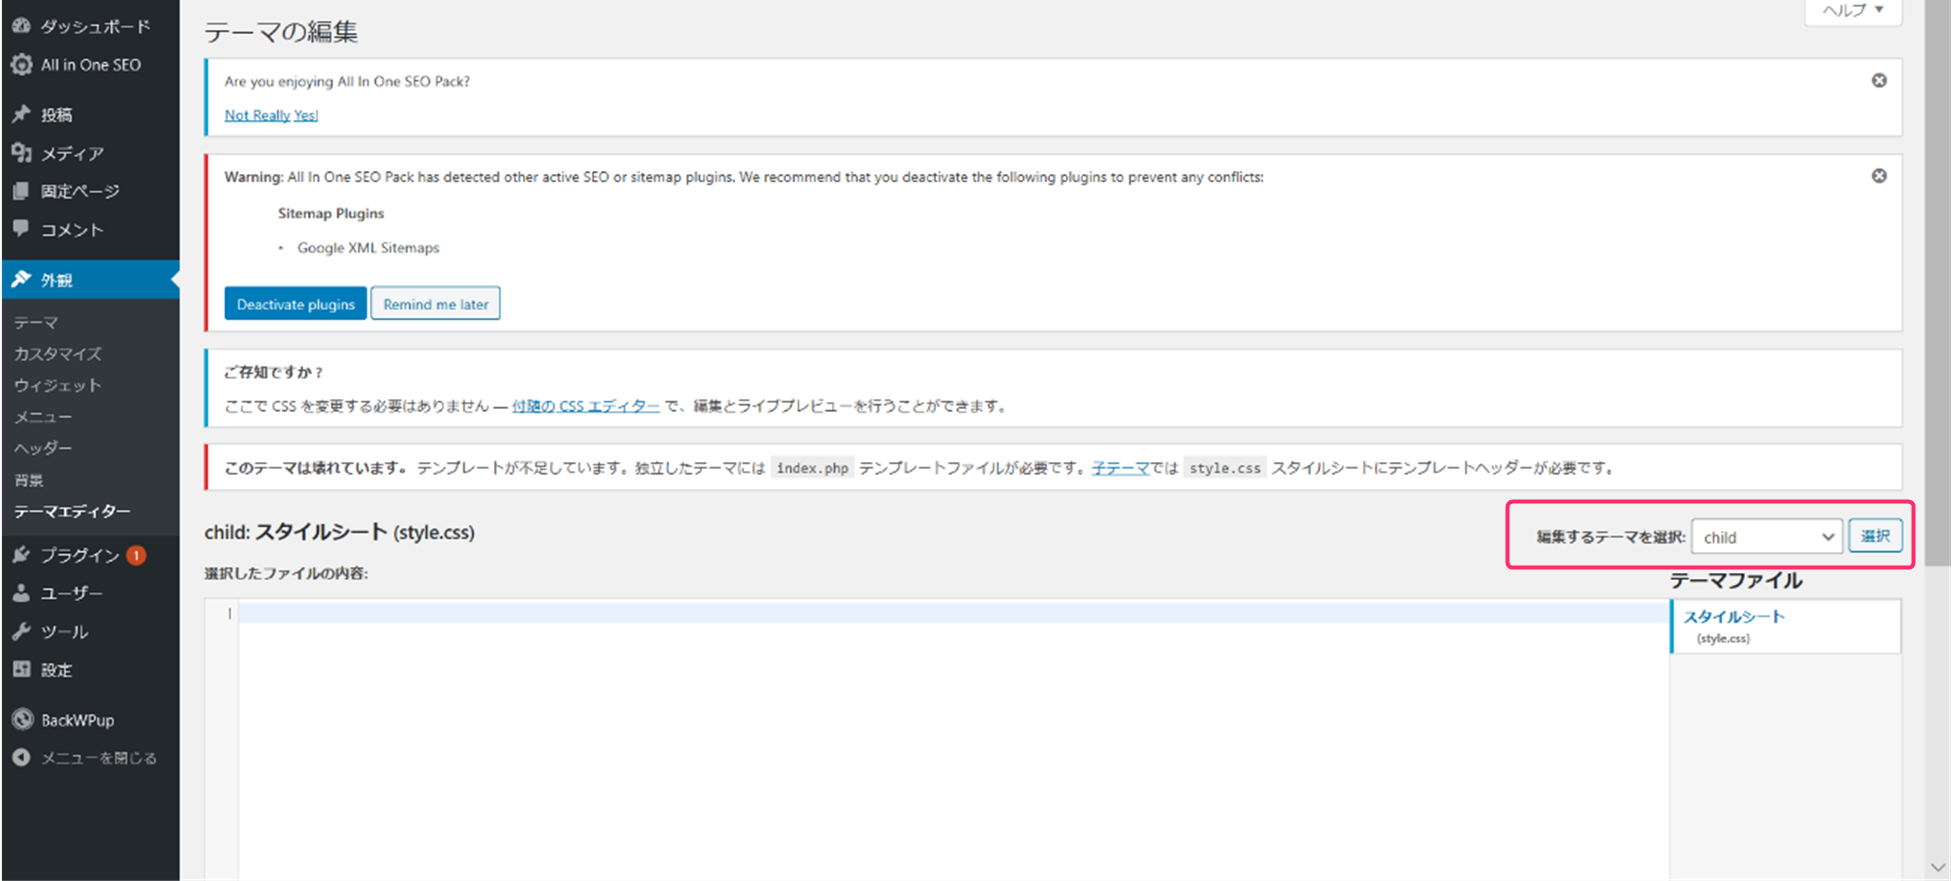
[選択したファイルの内容]にコードを記入していきます。
参考元のコードを使わせていただきます。
/*
http://www.webdesign.uh-oh.jp/install/theme.html
Theme Name: Child
Template: twentytwelve
*/
@import url(‘../twentytwelve/style.css’);
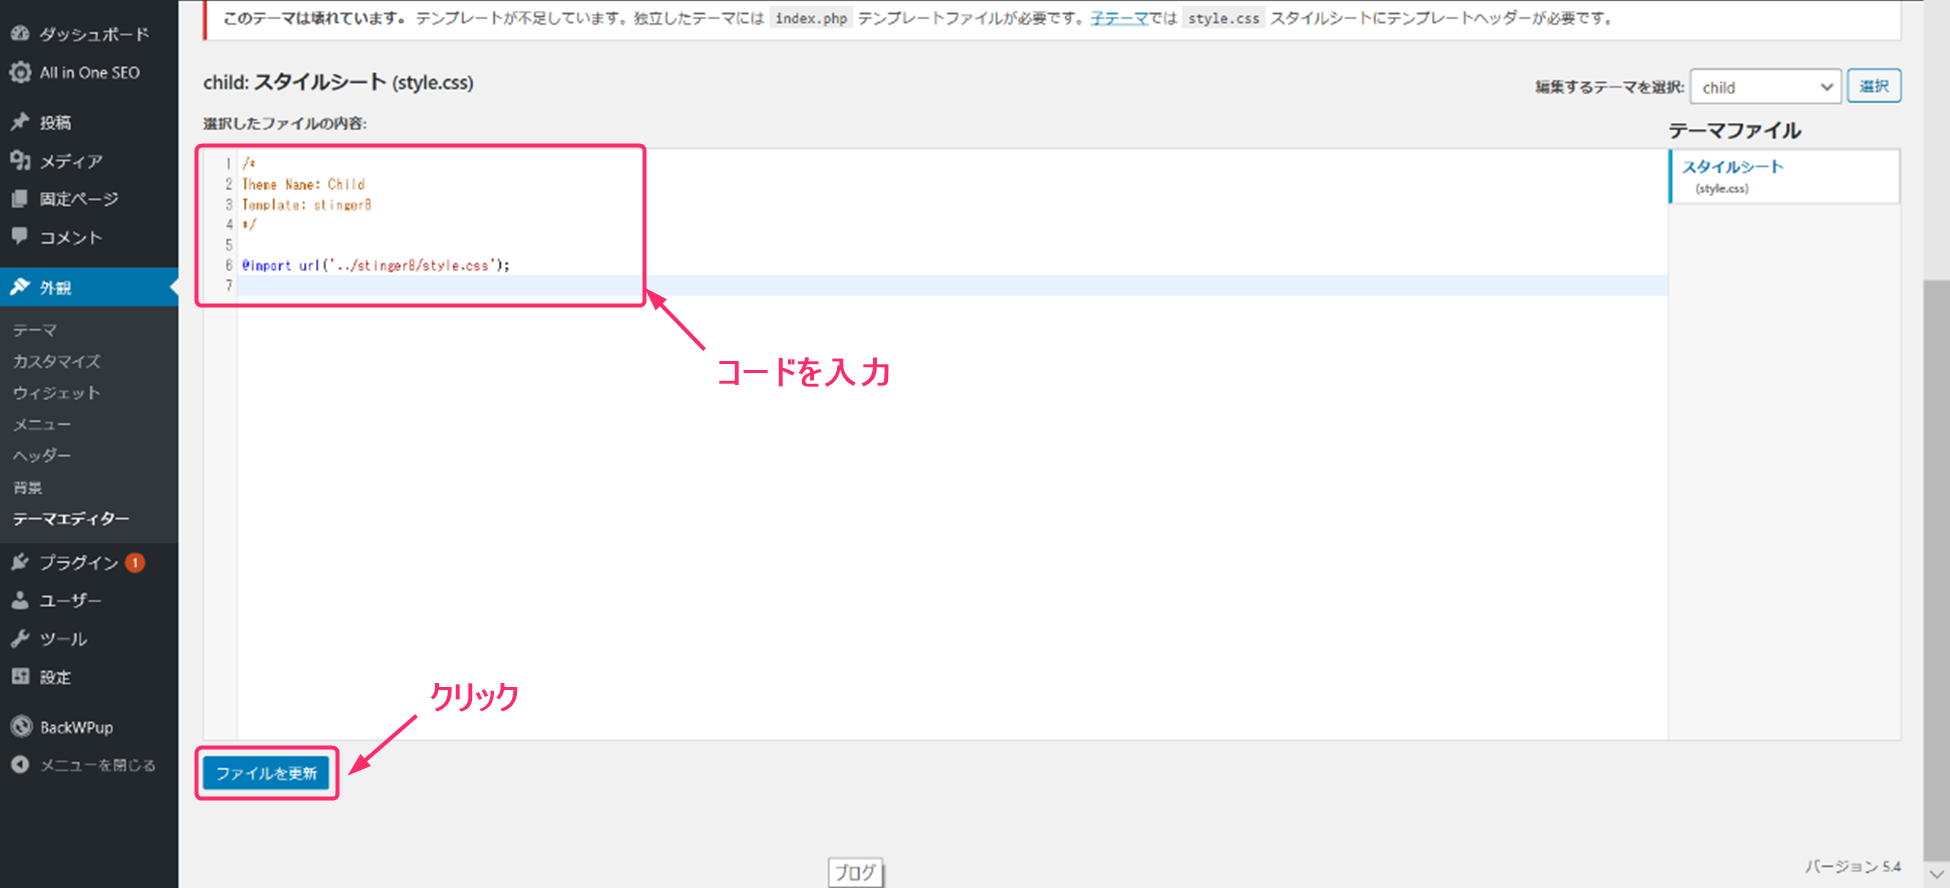
私は[stinger8]を使用しているため以下のコードとなります。
/*
Theme Name: Child
Template: stinger8
*/

@import url('../stinger8/style.css');
コードの記入をしたら、[ファイルを更新]をクリックします。
[ファイルの編集に成功しました。]とメッセージ表示されます。

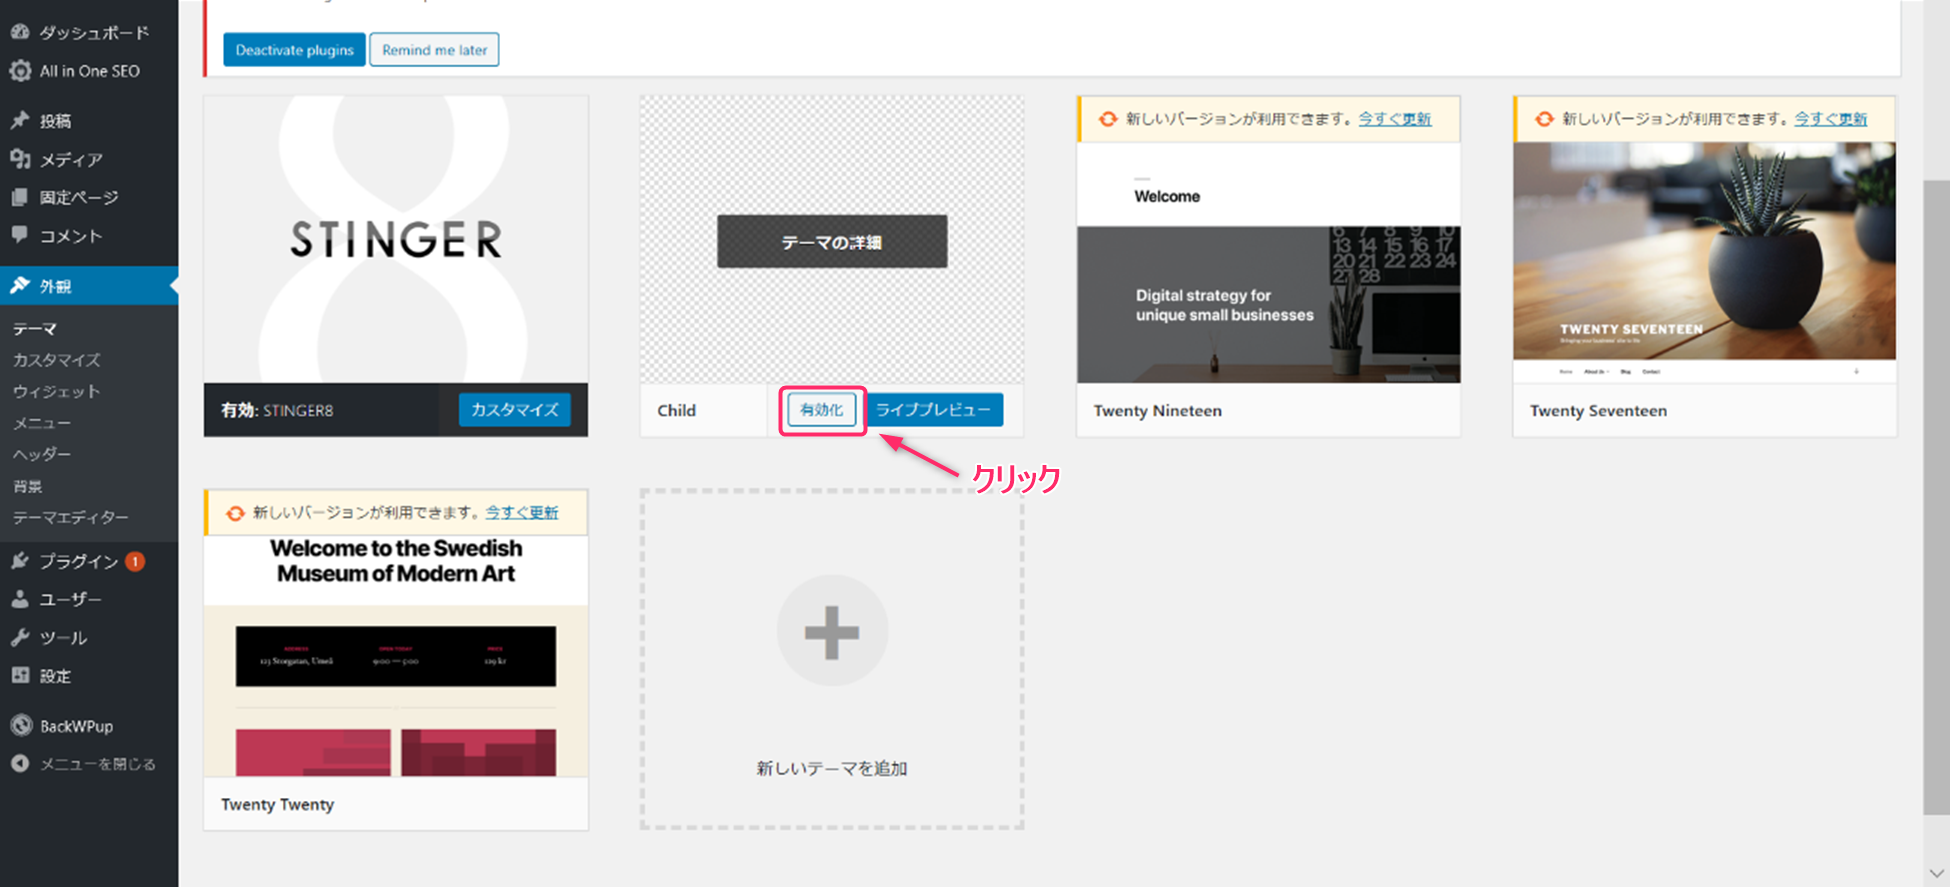
[外観]→[テーマ]を選択し、[Child]の[有効化]をクリックします。
[Child]テーマが有効になったことが確認できます。
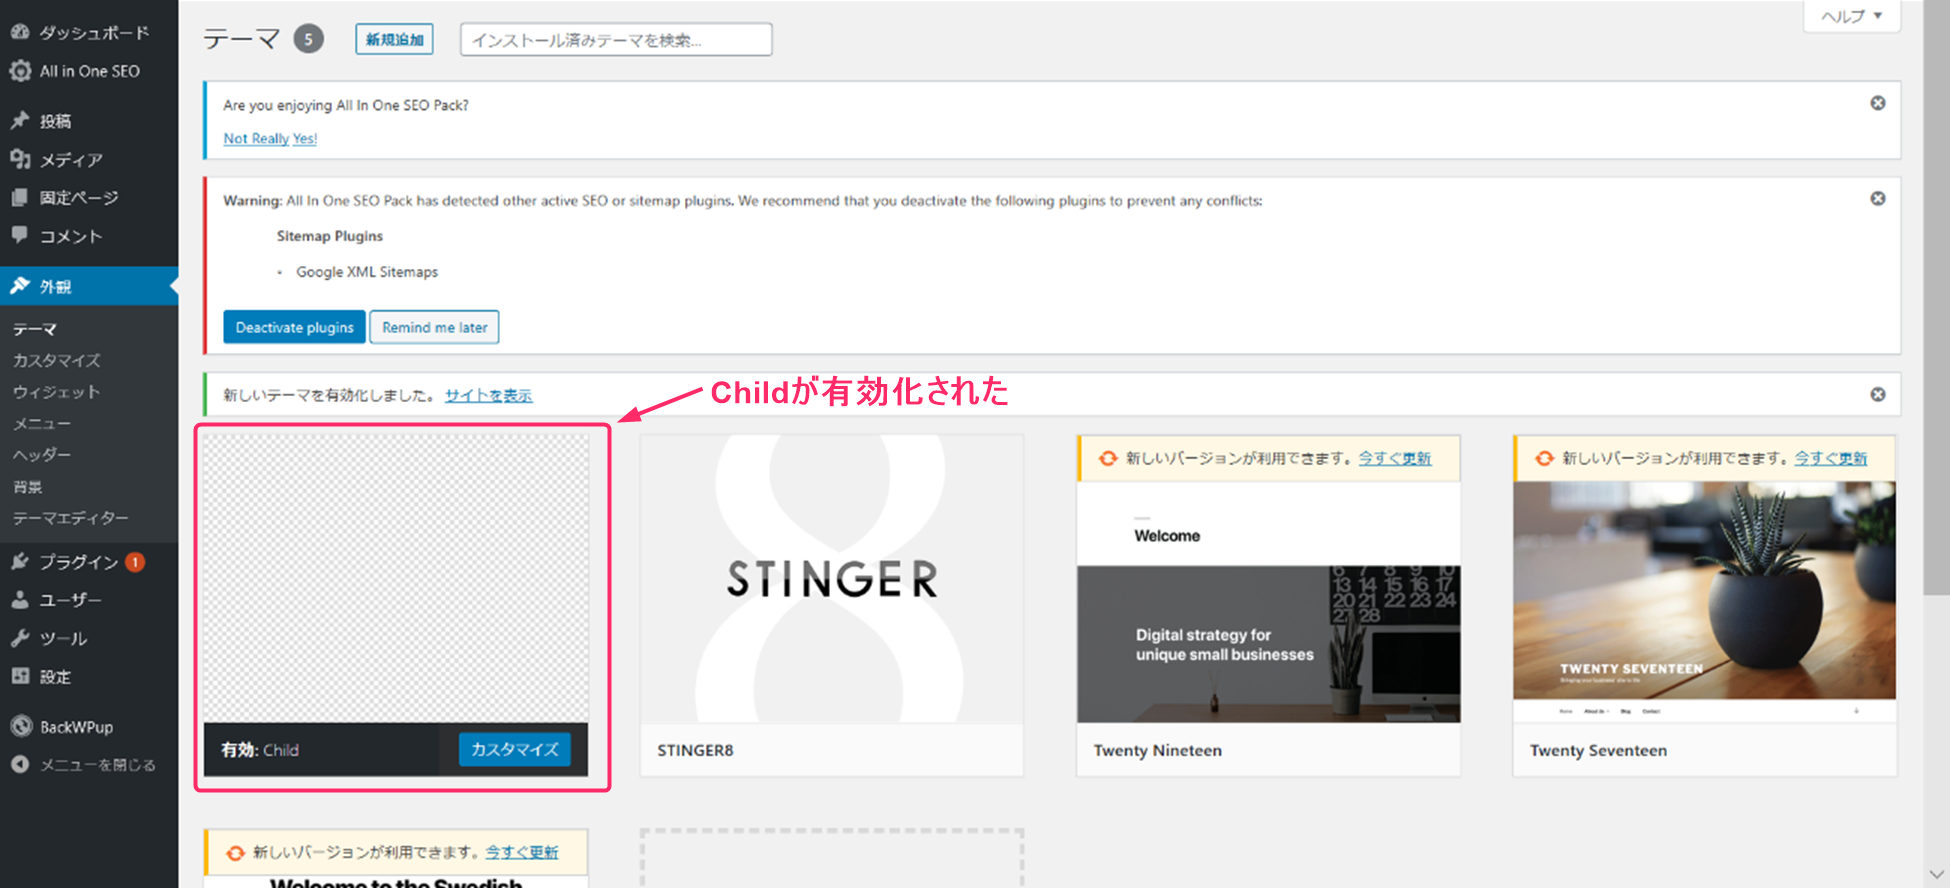
問題なく[stinger8]のテーマが引き継がれていることが確認できます。

3.テーマの更新
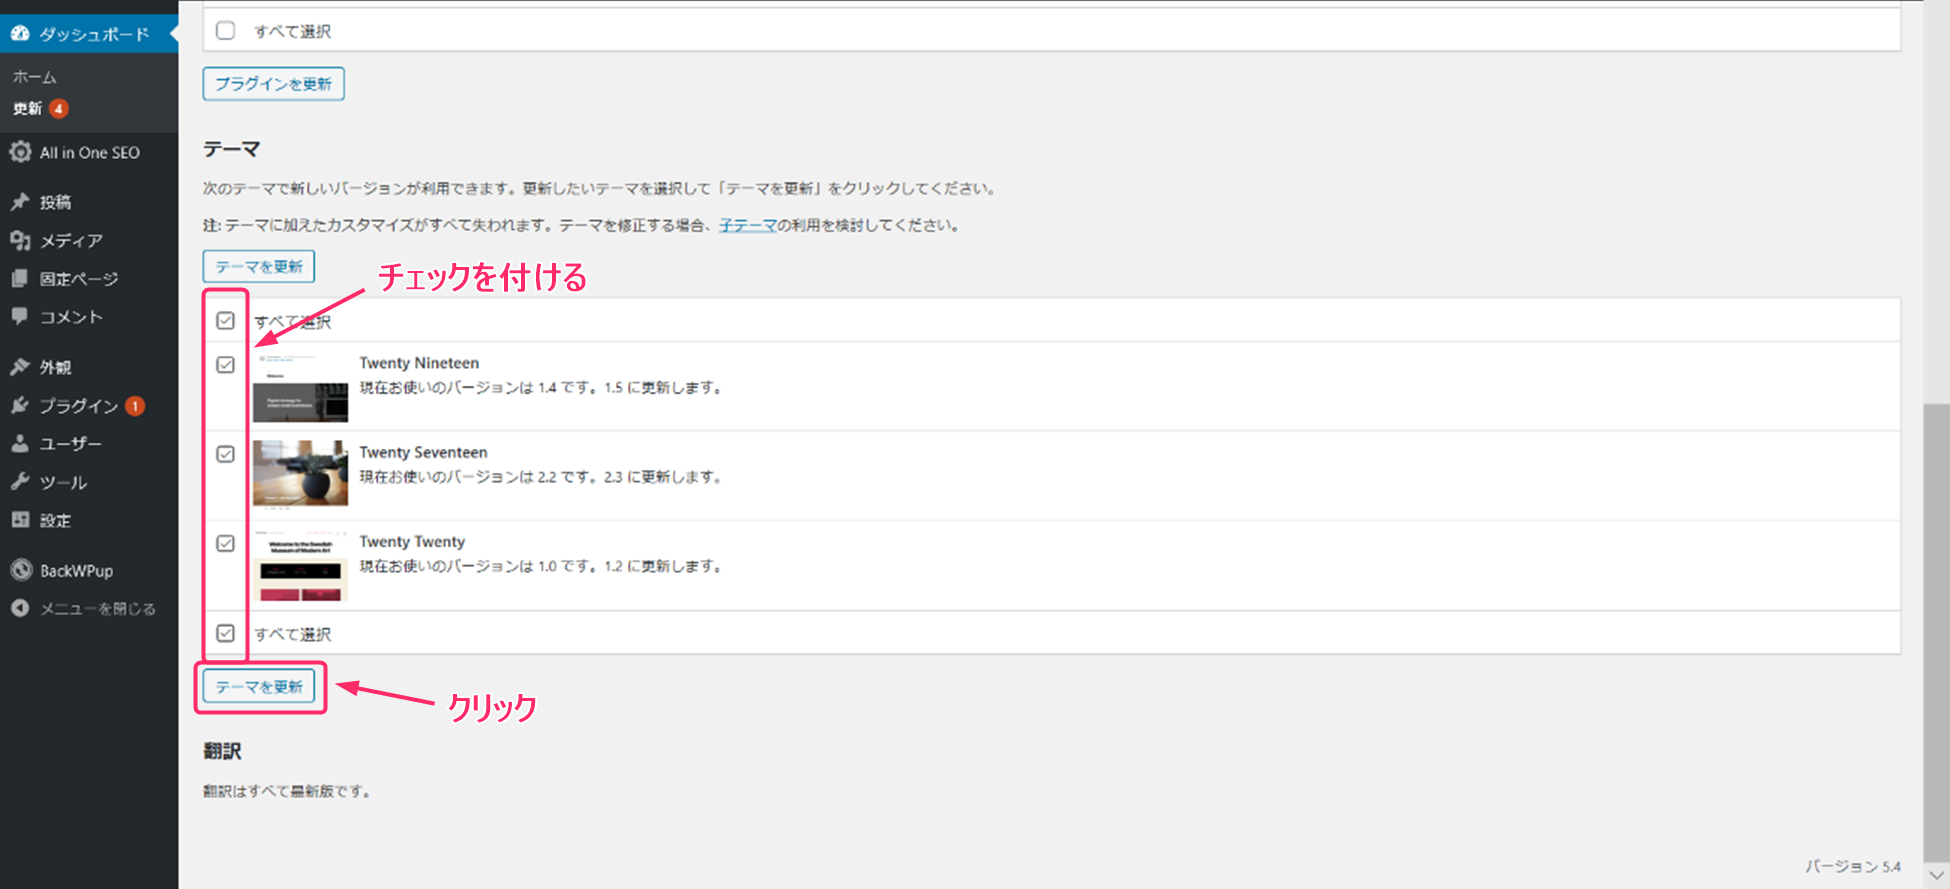
[ダッシュボード]→[更新]を選択し、更新するテーマにチェックを付け、[テーマを更新]をクリックします。
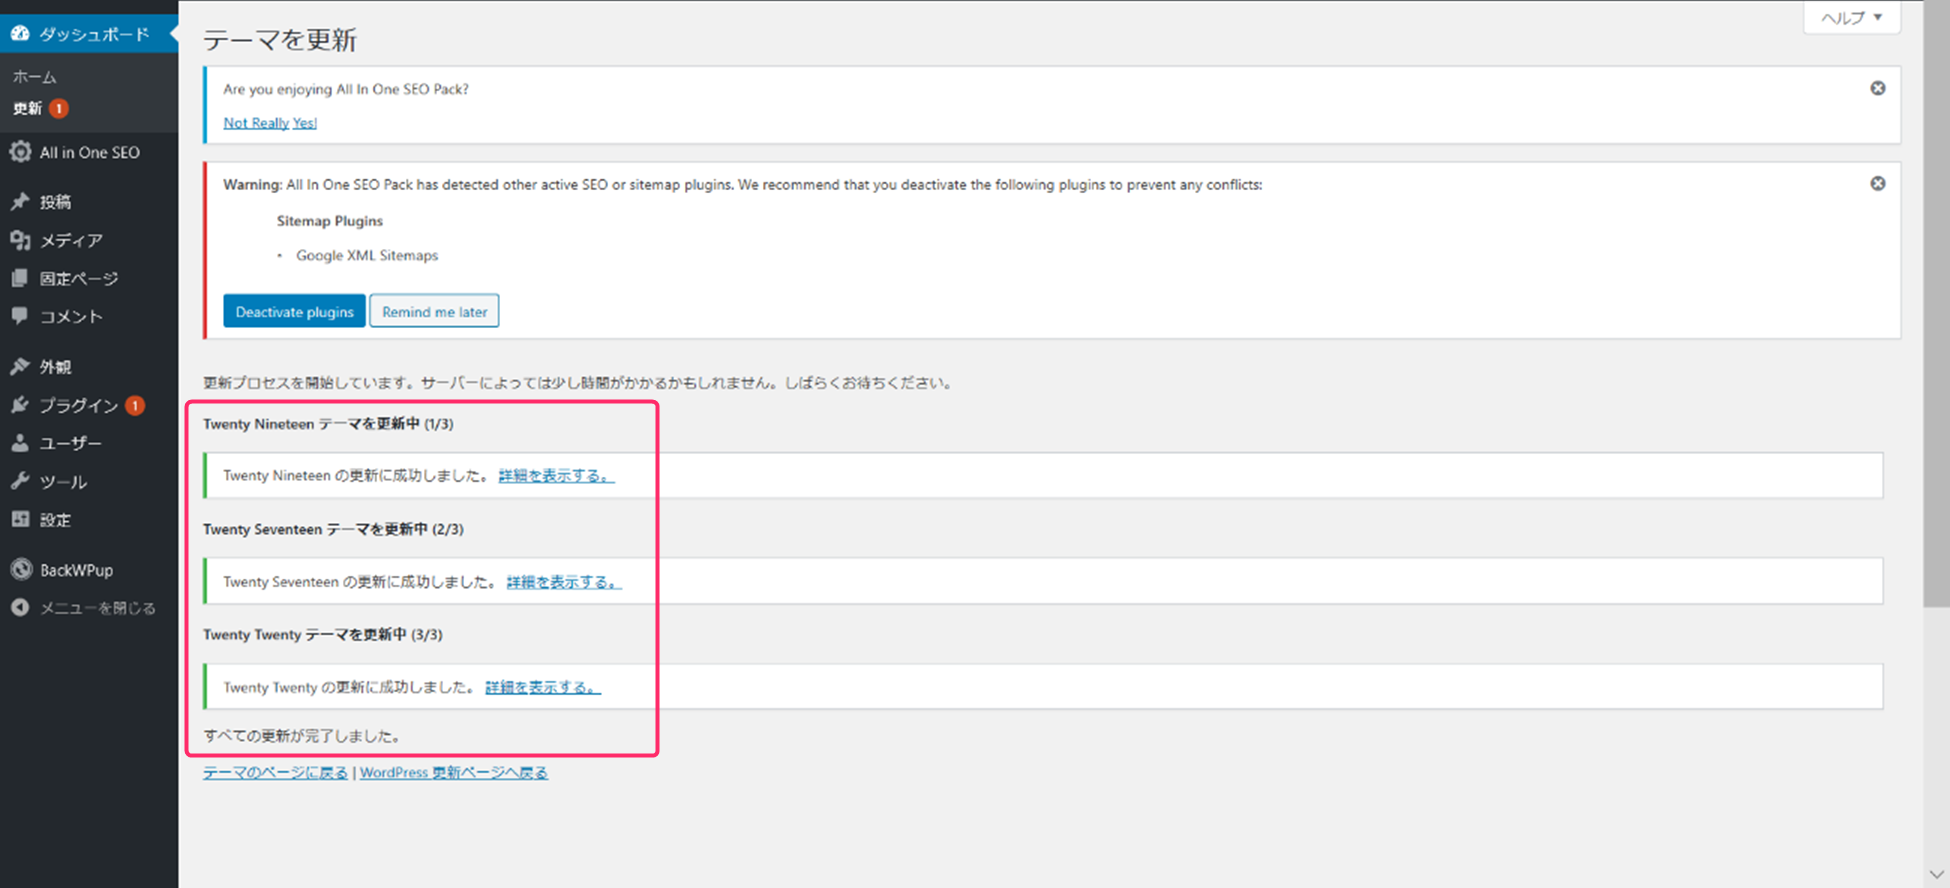
テーマの更新が正常に終了したことが確認できます。
問題なくブログが表示されていることが確認できます。
今回は[stinger8]の更新ではなかったため、今度[stinger8]の更新が来たら改めて確認したいと思います。
今回の記事は以上です。

